A tent sample can have reinforcement patches at every visible corner and still have weaknesses at its attachment points. The patches may be in the wrong locations, the materials may not suit the expected loads, or the stitching may be inadequate for the connection.
These details are easy to overlook when a sample otherwise matches the requested specifications.
Before approving an OEM tent sample, buyers should inspect the placement, reinforcement materials, stitching, and attachment construction at critical stress points such as guyline anchors, flysheet corners, and pole sleeve ends. Visual inspection can identify construction details, but material performance and completed-connection strength may require additional verification appropriate to the tent design.
Where Are the Critical Stress Points on a Tent?
Certain parts of a tent transfer tension between the fabric, poles, guylines, and ground anchors. The exact locations depend on the design, but several areas regularly deserve attention.
| Location | What to inspect |
|---|---|
| Guyline attachment points | Position, reinforcement patches, webbing, and stitching |
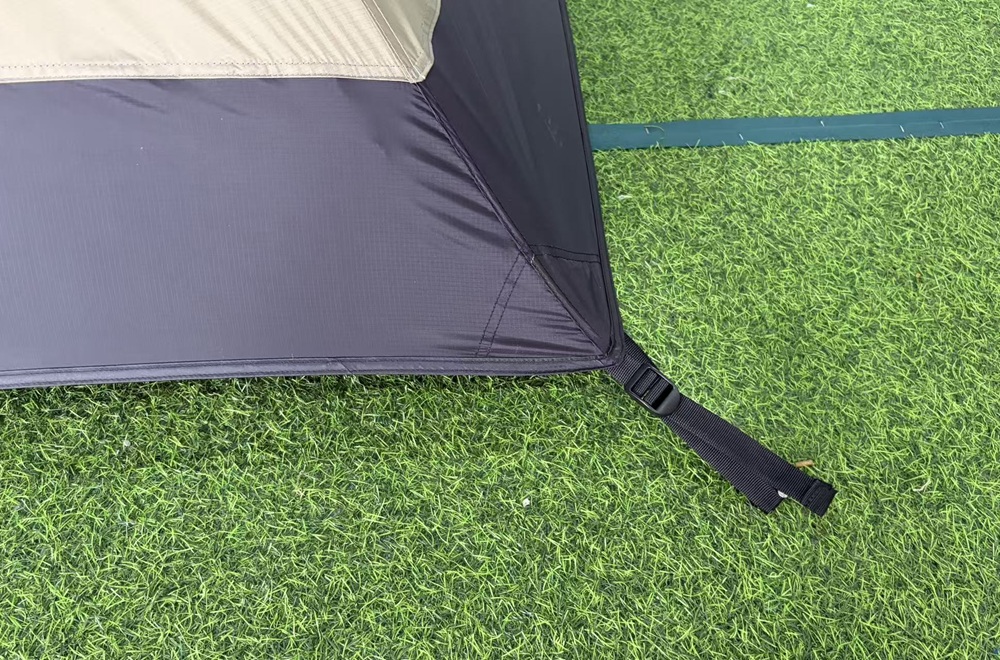
| Flysheet bottom corners | Corner reinforcement and connections to ground anchors |
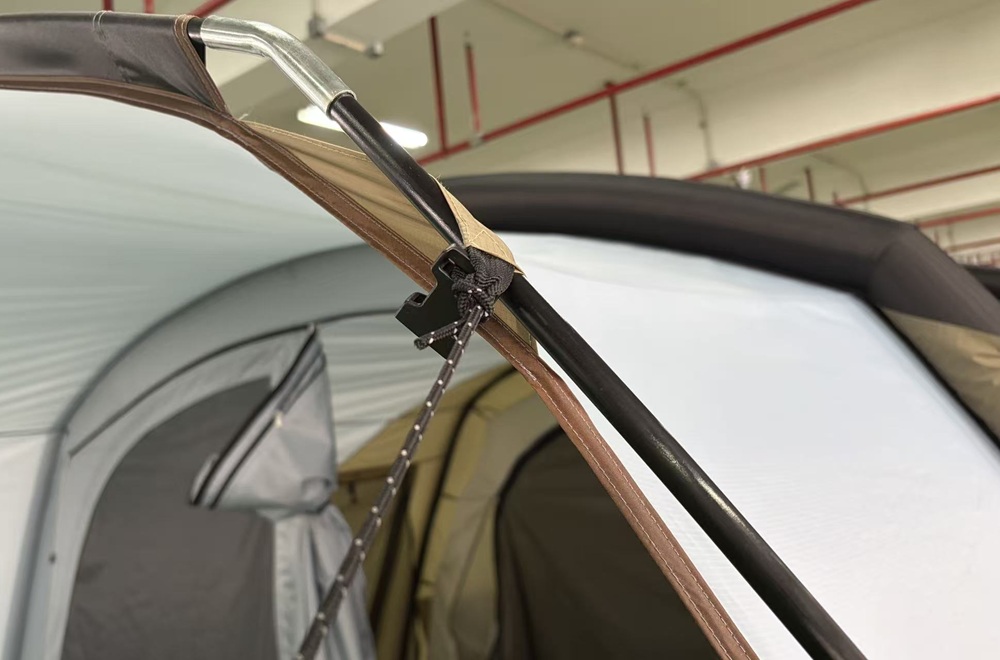
| Pole sleeve ends | Reinforcement around sleeve terminations and adjacent seams |
| Pole-end attachment areas | Fabric reinforcement and attachment construction |
| Other load-bearing connections | Reinforcement appropriate to the particular tent design |
These are starting points, not a universal requirement to reinforce every tent in the same way.
A lightweight trekking tent, for example, may connect the inner-tent corners to the flysheet through buckles. A larger family tent may have flysheet corners anchored directly to the ground. Their attachment arrangements, fabric selections, and weight requirements can differ substantially.
NastoCamp considers these differences when selecting reinforcement details for different tent designs.
For buyers, the first task is to identify which connections matter for the particular sample, not simply count how many patches have been added.
Why Reinforcement Placement Matters as Much as the Patch
One problem encountered in tent manufacturing is a reinforced guyline point that does not adequately support the area of the tent that needs it.
The patch itself may be strong, and the stitching may look secure. But if the attachment is poorly positioned relative to the tent’s structure and expected loading, strengthening that point may not address the underlying weakness.
NastoCamp’s manufacturing experience highlights this distinction between reinforcing an attachment and placing the attachment where it can perform its intended function.
During sample review, examine guyline positions together with the assembled tent’s shape, pole arrangement, and fabric panels. A close-up photograph can show how a patch is sewn, but it may not reveal whether the guyline is positioned appropriately.
This is particularly relevant when reviewing a new tent structure or a significant modification to an existing design.
What to Inspect in Reinforcement Materials and Stitching
Once the important attachment points have been identified, the next question is how they are constructed.
Reinforcement Materials
Adding another layer of fabric is a common reinforcement approach, but the additional material must be suitable for the connection.
Depending on product requirements, NastoCamp has used additional fabric patches, PVC mesh-reinforced fabric, and certain high-strength grid-reinforced fabrics. Webbing may also be used at selected pole-end or corner attachments.
Material selection involves trade-offs. A lightweight trekking tent may need reinforcement that adds relatively little weight. A larger family tent may require more substantial construction at certain ground-connected corners or guyline points.
The surrounding tent fabric also matters. A stronger reinforcement patch does not automatically compensate for insufficient strength in the material to which it is sewn.
Buyers should therefore ask why a material was selected, rather than assume that a thicker or heavier patch is necessarily better.
Fabric denier can describe yarn size, but it is not a direct measurement of tear resistance or the strength of a completed attachment.
Stitching and Webbing Connections
The way reinforcement patches and webbing are attached can be just as important as the materials themselves.
NastoCamp uses bar-tack stitching for certain bottom-corner webbing attachments. Depending on the connection design, other reinforcement stitching arrangements, such as box stitching, may also be considered.
In the factory’s experience, simple backstitch reinforcement has sometimes been insufficient at particular load-bearing connections. Under substantial loading, the surrounding fabric or connection may still tear.
That does not establish that one stitching pattern is always stronger than another. Suitability depends on the fabric, thread, stitch arrangement, connection geometry, and expected loading.
When inspecting a sample, look at how the webbing is secured, whether the stitching is complete and appropriately positioned, and whether the surrounding fabric shows visible distortion or damage.
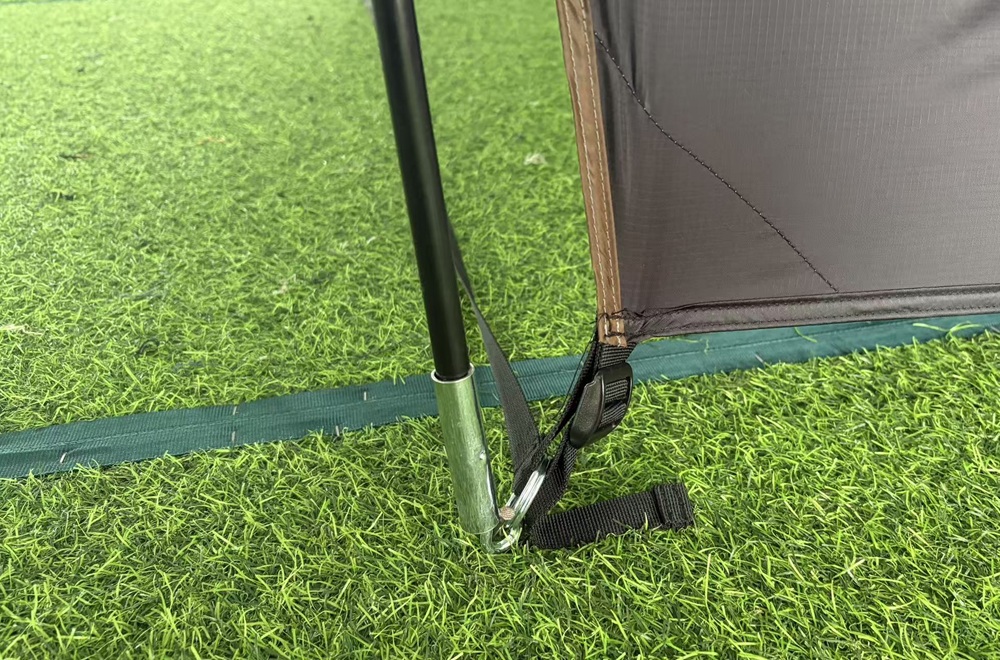
Different Tent Designs, Different Choices
Reinforcement details should be evaluated in the context of the complete tent.
Lightweight trekking tents and larger family tents differ in their dimensions, anchoring arrangements, and weight priorities. The same patch material or connection design will not necessarily be appropriate for both.
This is why reinforcement should be treated as a design decision rather than a standard detail copied from one product to another.
A Factory Case: Bottom-Corner Failure on a Peaked Tent
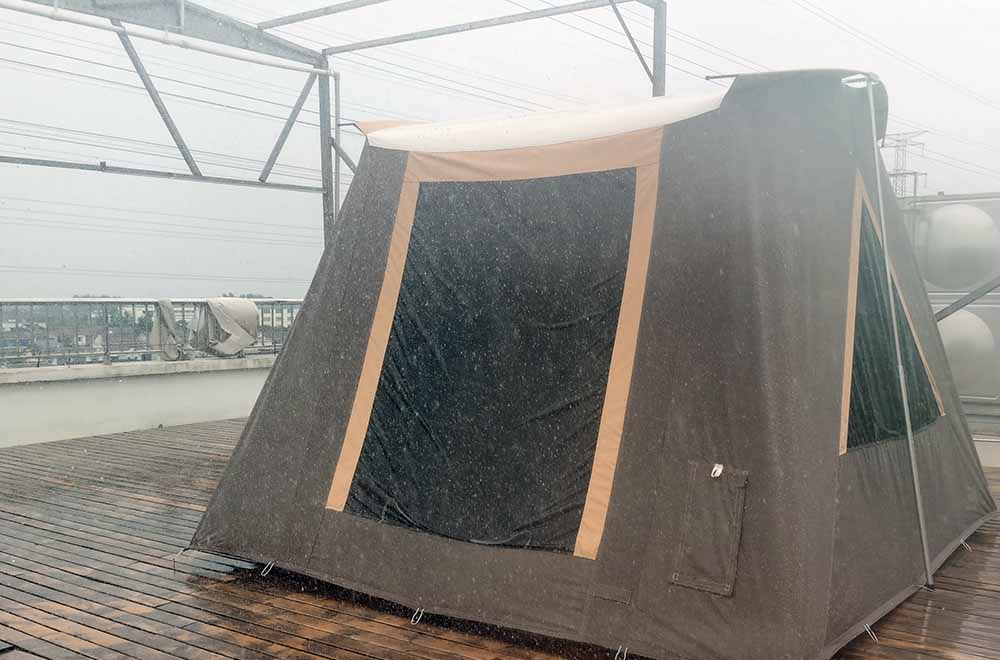
NastoCamp encountered a reinforcement problem during the manufacture of a batch of peaked tents.
The original bottom-corner construction used ordinary polyester reinforcement patches. Under windy conditions, multiple corners tore. In some instances, the entire corner section detached together with its attached webbing.
Reinforcement had been included in the design, but the material used at the affected locations was not adequate for that particular application.
The factory changed the bottom-corner reinforcement material to PVC mesh-reinforced fabric.
The modified tents were erected again and evaluated outdoors in windy conditions. According to NastoCamp’s account, the same corner-tearing problem did not recur during subsequent customer use.
This was a corrective action for a specific tent design. It does not establish that PVC mesh-reinforced fabric is the best choice for every tent or that the outdoor evaluation constituted a standardized wind-resistance test.
The case illustrates why a reinforcement problem should not be judged by appearance alone. The material, connection construction, and behavior of the assembled tent all deserve consideration when a design is modified.
How to Verify Reinforcement Before Sample Approval
Not every reinforcement detail can be evaluated in the same way. Some can be inspected directly, while others require material information, suitable testing, or evaluation of the assembled tent.
Start with the Visible Construction
Inspect the positions of reinforcement patches, webbing, and stitching at the critical attachment points.
Check whether these details match the agreed sample specifications or drawings, where available. Pay particular attention to flysheet corners, guyline attachments, and pole sleeve ends.
Look for missing reinforcement, poorly positioned attachments, incomplete stitching, or visible damage around the connections.
These observations are useful, but they do not establish how much load a completed attachment can withstand.
Distinguish Fabric Tests from Connection Tests
Fabric tear resistance and sewn-connection strength are related but different properties.
ASTM D2261 and ASTM D1424 use different procedures to evaluate fabric tearing behavior. ASTM D1424, for example, measures the force required to propagate a tear from a pre-existing cut using an Elmendorf-type apparatus.
Results from fabric tear tests should not be interpreted as the load capacity of a finished tent attachment.
ISO 13935-2:2026 provides a grab-test method for determining the maximum force to rupture of straight sewn seams within its specified material scope. It is normally not applicable to coated fabrics and should not be treated as a direct test of a complex, multilayer tent-corner attachment with webbing.
For a critical connection, the applicable evaluation method should be selected according to the actual materials, construction, and project requirements.
A test result is useful only when it addresses the property the buyer needs to verify.
For a broader discussion of how manufacturers and buyers can interpret inspection and testing information, see NastoCamp’s Tent Quality Control Evidence.
Evaluate the Assembled Tent When Appropriate
Some issues become clearer when the tent is erected.
The assembled structure makes it easier to examine the relationship between guylines, poles, fabric panels, and ground anchors. It may reveal attachment positions that appear acceptable in a flat sample but do not adequately support the erected tent.
For larger tents or products intended for demanding conditions, additional product-level evaluation may be appropriate.
Outdoor evaluation in windy conditions can provide practical observations, as in NastoCamp’s peaked-tent case. However, uncontrolled outdoor conditions do not establish a standardized wind-resistance rating.
If a project requires defined performance levels, the test method, conditions, and acceptance criteria should be agreed in advance.
Questions to Resolve with Your Tent Manufacturer
Before approving an OEM tent sample, buyers can use these questions to guide the technical discussion:
- Which attachment points carry important loads in this particular design? Ask how the tent structure and intended use influence the locations selected for reinforcement.
- Why are the reinforcement patches and guyline points positioned there? Confirm that the placement supports the intended structural function.
- What materials are used at the reinforced connections? Discuss the reasons for selecting them, including relevant strength characteristics and weight considerations.
- How are the reinforcement patches and webbing attached? Review the stitching arrangement and its suitability for the surrounding materials and expected loading.
- Which details can be checked visually, and which need additional evidence? Determine whether material information, connection testing, or assembled-tent evaluation is appropriate.
- If a reinforcement detail is changed, how will the revised sample be evaluated? Make sure the evaluation addresses the original concern rather than relying only on the appearance of the modification.
These questions do not replace agreed specifications or project-specific acceptance requirements. They help brands identify issues that should be resolved with the manufacturer before sample approval.
For more on the broader approval process, read NastoCamp’s Tent Sample Approval guide.
A good reinforcement decision is not simply about adding more material. It is about using the appropriate material and connection at the right location, and checking that the resulting construction suits the tent’s intended use.